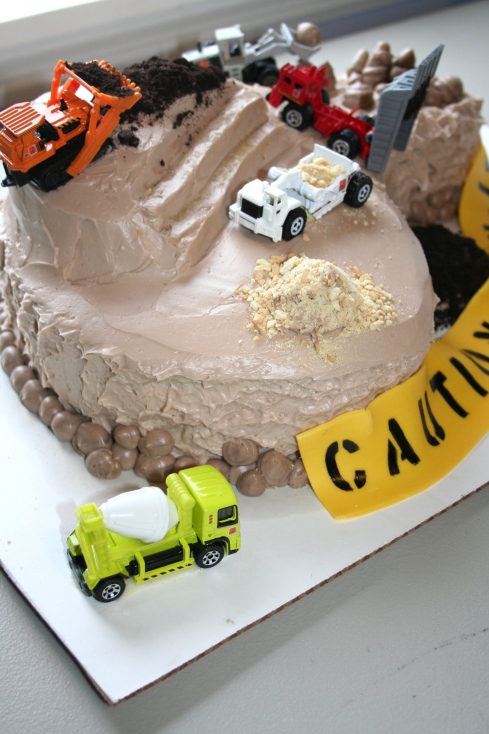
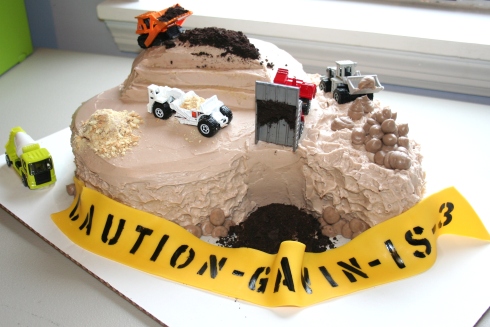
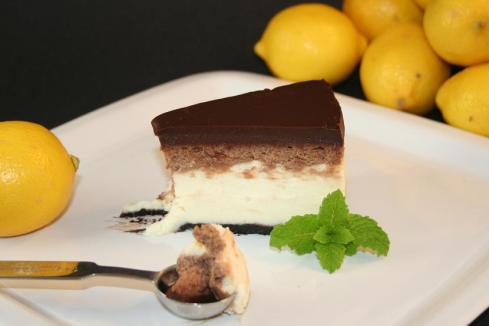
My nephew Gavin turned 3 over the Christmas holidays.  His parents threw him a construction party that was supper cute.  Yellow hard hats and all.  For his cake I was given no direction other than “trucks, working trucks”.  I love it when that happens.  Creative freedom.  My mind just races.  Last year I hand-made his John Deere Tractor out of fondant, he was pretty upset that he could not play with it at all, so this year I opted with trucks he could keep forever.

For the cake, I used yellow cake and vanilla bean buttercream.   My girls happily crushed Oreo’s and animal crackers for the dirt.   To finish it off, I rolled out a very thin ribbon of yellow fondant and wrote a message on the “caution” tape.  I love this cake, it was so fun to make and Gavin stood by it as proud as he could be until it was finally time to cut it and give him his trucks.

Happy 3rd birthday budy, Aunt Cheryl and Uncle Joey love you very much!

IMG_2457

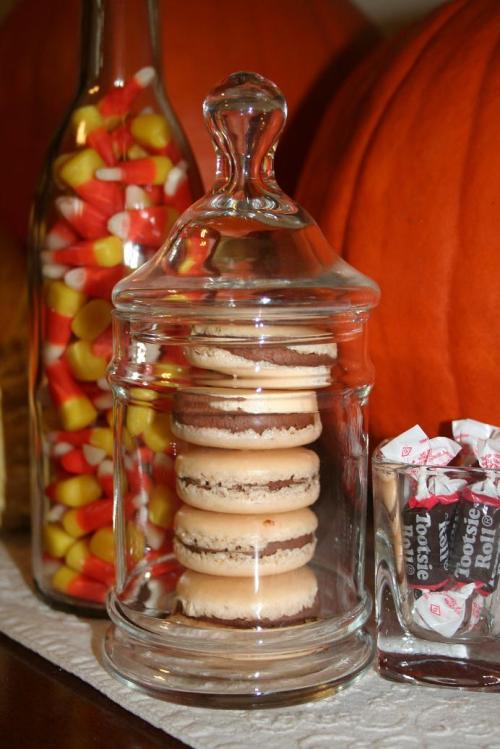
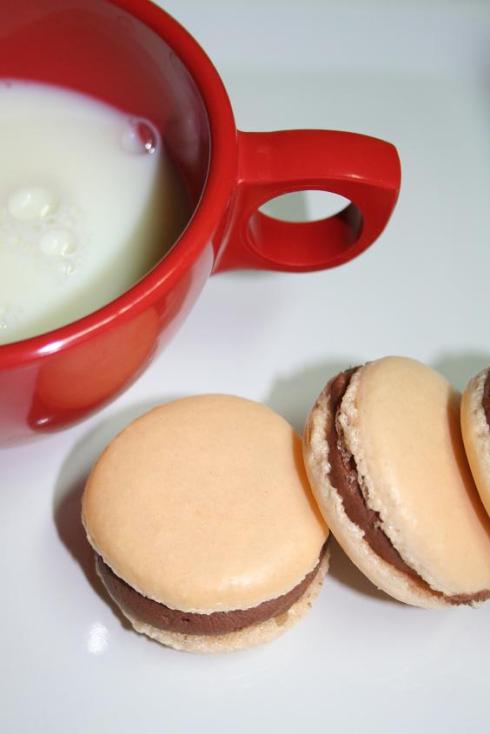
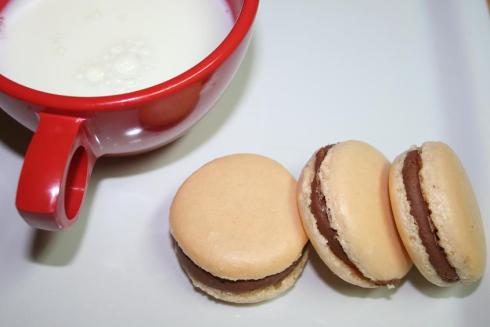
Who can only eat one?  Not I.  These tasty little cookies (almost a crisp sponge cake), are so very chewy and moist and just plain divine in your mouth.  I found this recipe supper easy to recreate, however I did follow some great tips provided here on Tartelette‘s blog.

IMG_2467

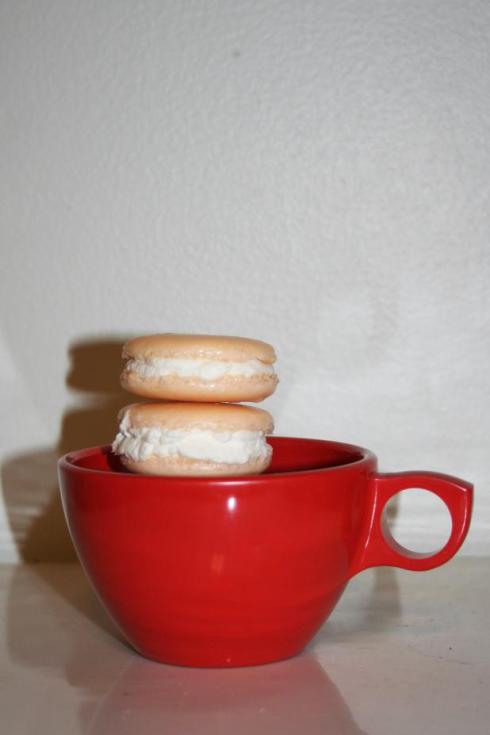
I did let my egg whites sit in the fridge for 5 days, which required plenty of planing ahead.  I did not bake my macaroons at 2 different temperatures.  I live in the South and it is still in the 90’s here at least twice a week, and having my oven on that long and that high is just not an option.  So I used Tartlette’s baking instructions, with Claudia Fleming’s ingrediant list.  I added some color, but not enough to make them actually orange like pumpkins which is what my daughter and I were going for, instead they look like a Georgia peach!   We then filled half with some whipped ganache and the other half with fresh whipped cream and vanilla.

IMG_2477

These macaroons were amazing and I will be visiting this page on Tartelette‘s blog to try some other variations for the holidays.  Thanks Daring Bakers, for another marvellous challenge!

IMG_2475

The 2009 October Daring Bakers’ challenge was brought to us by Ami S. She chose macarons from Claudia Fleming’s The Last Course: The Desserts of Gramercy Tavern as the challenge recipe.


Read the rest of this entry »

Ganache-tutorial-0007

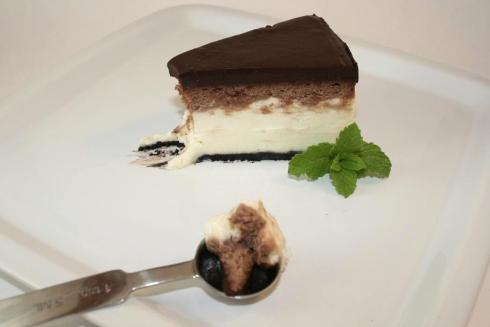
Ganache covered Zebra Cheesecake

Ganache refers to a variety of icing, fillings for pastries, and glazes. It is typically made from chocolate and cream. Its origins date to around 1850, when it may have been invented in Switzerland or in France.

Ganache is normally made by heating heavy/double cream, then pouring it over chopped dark chocolate. The mixture is stirred or blended until smooth, and can be enhanced with liqueurs or extracts. Depending on the kind of chocolate used, cream should be adjusted to reach desired consistency.

Bonobo Cakes Ganache

  • 8oz Heavy Cream
  • 12oz Good Quality Dark Chocolate
  • optional: 2 to 3 Tablespoons Cold Butter
  • optional: 2 to 3 Tablespoons of Liqueur

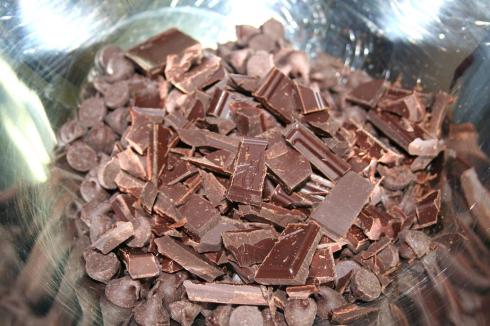
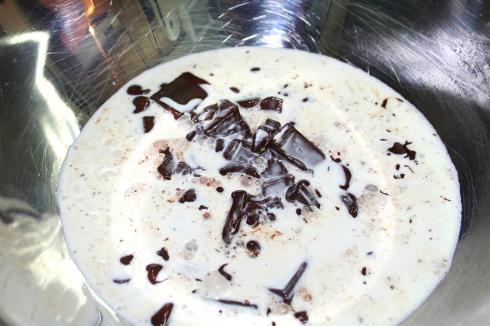
Chop Chocolate and place in a bowl.  Please note that for this tutorial I ran out of good chocolate and used a few Nestle chocolate chips to complete the recipe.  It will still work, however it will not firm up as much as good chocolate would.

Ganach-tutorial-002

Place cream in a saucepan over medium heat until it just begins to bubble on the edges (do not scorch it).

Ganach-tutorial-001

Then simply pour your hot cream over the chocolate and wait.

Ganach-tutorial-003

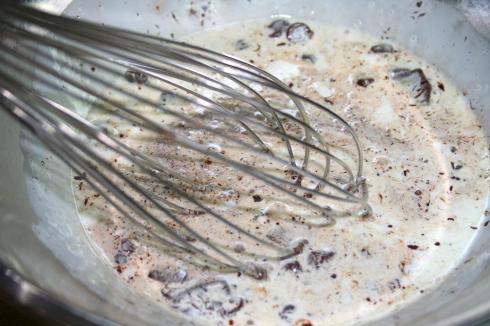
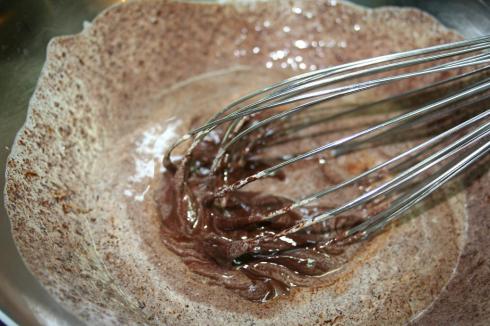
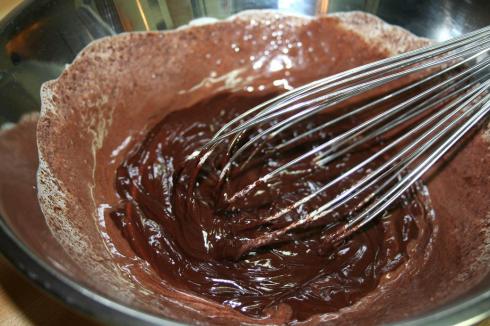
Count to 30 or do 5 ballerina twirls with your kids.  Then stir with a wire whisk until smooth and dark.  Do not worry, it will look odd at first and then thicken and come together in a matter of minutes.

Ganach-tutorial-004

Ganach-tutorial-005

Ganach-tutorial-006

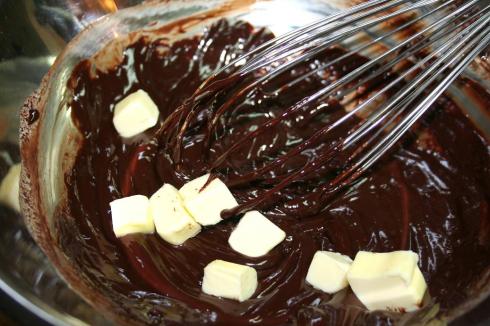
Now you can add the butter, if you want your finished Ganache shiny, or liqueur if you are making a filling for truffles or cheesecake.

Ganach-tutorial-007

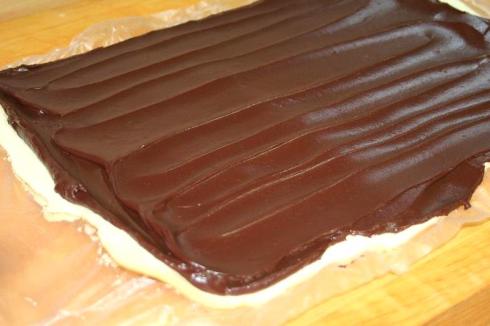
If you are pouring it on something, like a ready made truffel ball, or cheesecake, this is the time to pour it or spread it.

Ganach-tutorial-008

If you want to use it as a cake filling or icing, let it cool to room temperature, about 2 hours, and then beat at medium to high speed until it becomes cramy and silky, about 3-6 minutes.

truffles-1

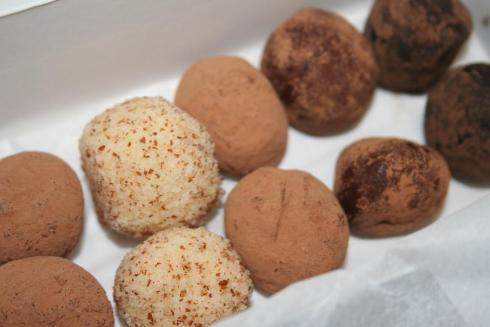
If you are using it as a truffle filling, then refrigerate it now.  Remove it in 3-4 hours and shape as desired.  Place back in fridge for another 30 minutes before coating it in tempered chocolate or cocoa powder.  Enjoy!

The August 2009 Daring Bakers’ challenge was hosted by Angela of A Spoonful of Sugar and Lorraine of Not Quite Nigella. They chose the spectacular Dobos Torte based on a recipe from Rick Rodgers’ cookbook Kaffeehaus:  Exquisite Desserts from the Classic Caffés of Vienna, Budapest, and Prague.

Fun Facts:

Dobos torte (/’doboʃ/, Hungarian: dobostorta, Slovak: doboška) is a famous Hungarian cake.  The Dobos Torta is a five-layer sponge cake, filled with a rich chocolate buttercream and topped with thin wedges of caramel. (You may come across recipes which have anywhere between six and 12 layers of cake; there are numerous family variations!) It was invented in 1885 by József C. Dobos, a Hungarian baker, and it rapidly became famous throughout Europe for both its extraordinary taste and its keeping properties.  Dobos’s aim was to make a cake that would last longer than other pastries, in an age when cooling techniques were limited. The caramel topping helps keep the cake from drying out.  The recipe was a secret until Dobos retired in 1906 and gave the recipe to the Budapest Confectioners’ and Gingerbread Makers’ Chamber of Industry, providing that every member of the chamber can use it freely.

After taking a long summer hiatus, spent with my 2 amazing children, I am back.  Very back and very ready to BAKE!

When I read this challenge I was so very excited.   My daughter has a sweet little friend from school named Lili, and over the past year we have become quiet good friend with her whole family.  Her parents are both Hungarian, living and working right here in Georgia.   They love the kitchen as much as we do.  In fact we eat dinner together quiet often and try out new recipes.  Last month we made sushi rolls and even made fresh tuna sashimi.  Upon reading the recipe I immediately called them to see if they could give me any hints or advice on making this cake as accurate as possible.  They had eaten the dessert many times, just never made it.   Needles to say, we decided to eat the finished product together.

The fist batch of batter I made was just too thin and fine, it never rose and cracked where ever the parchment wrinkled from the moisture.  However I do not believe in waste, so we ate them for breakfast the next morning with giant Georgia peaches and homemade whipped cream.  It was like a cross between a pancake and a crape!  Delicious!

DB-08-09number01

DB-08-09number06

For my second go around I decided to make 1 1/2 times the recipe hoping to use 1 rounded cup of batter per layer.  I also decided against the parchment paper, as I was not happy with the “wrinkling” on the first batch.  I used a silpat instead.  I drew my circle pattern right on my pan with permanent marker (which will wash off of the pan), then placed my silpat on top and could see the line perfectly.  This plan worked marvelously and my layers were nice and even.  I did not trim the edges either.

DB-08-09number03

The buttercream recipe was WAY TOO RUNNY for me.  It would not set up at all.  There was no way I could use it pipe, I was so disappointed.  Next time I will stick with my own tried and true Mocha Buttercream recipe found here at Zoe Bakes.  The Hungarians agreed that the overall cake was too sloppy and the traditional cake was much firmer and would generally have more layers.

DB-08-09number02

The Carmel, hum, what to say about the Carmel.  The lemon was not needed.  Even if it was added, 1 teaspoon would have been enough to add a hint of flavor, 8 teaspoons just overpowered the whole thing.

DB-08-09number05

DB-08-09number04

Overall I had a fun time recreating this famous dessert,  can’t wait to try it again with a few tweaks.  Stay tuned to see what else I made with this “cake” recipe!

Click here to view the recipe we were challenged to make: Read the rest of this entry »

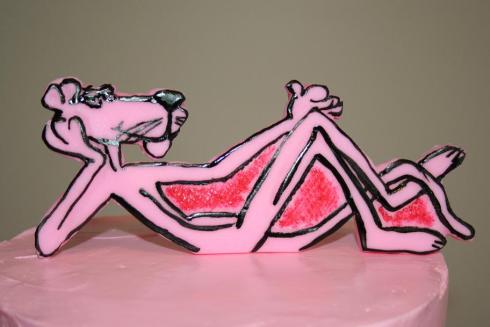
BC-pinkpanther-0003

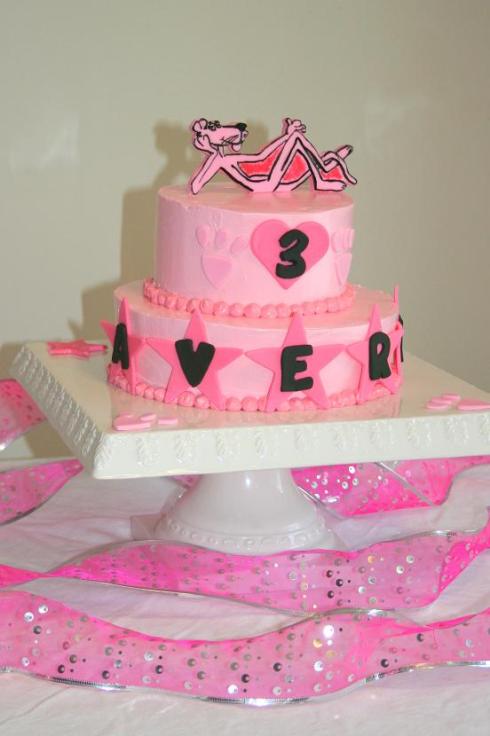
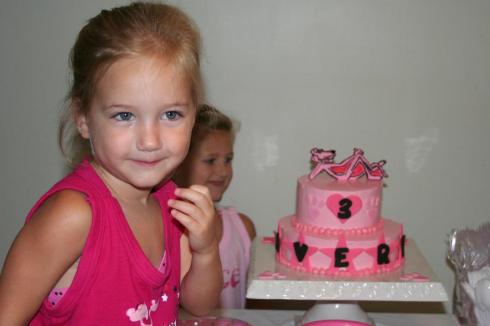
My daughter Avery was nearing her 3rd birthday and we still had not made a decision about it’s theme.  One night over dinner, my then 2 year old, 5 year old, husband and myself brainstormed.  The outcome:  pink panther.  It was a brilliant idea considering Avery’s all time favorite color is pink.  She loves to watch the pink panther, and it was so original.  Who knew Wal Mart would have pink panther PJ’s and Barnes and Noble would sell stuffed pink panthers to add to our totally “pink” pink panther party!

BC-pinkpanther-0001

BC-pinkpanther-0002

Avery wanted a vanilla cake, which I colored pink, of course.  Icing in pink vanilla butter cream and topped with the pink panther himself, this two tier cake was totally awesome!

BC-pinkpanther-0004

This cake order was for Tasha Stafford & Doug Hollingsworth and their unborn son due the end of July.  As with any pregnancy, something unexpected happened.   Kaiden arrived on July 4th at 1:22 pm, three weeks early.  His shower was still held on the 11th and the whole family was able to celebrate his safe arrival.

IMG_1450

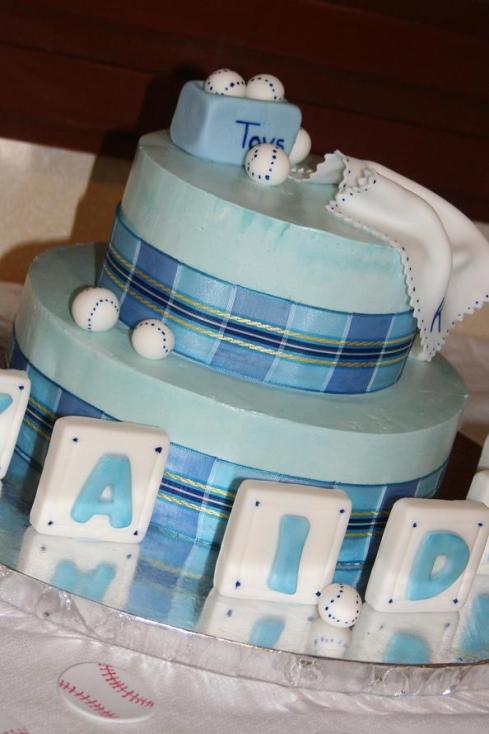
Kaiden’s Aunt Joy ordered a 2 tier cake.  The bottom 9″ layer was White Trillium cake with buttercream, and the top 6″ layer was Chocolate Chiffon cake with buttercream.  The shower and Kaiden’s room both have a sports theme, so did his cake.  I made baseballs and a baby blanket out of fondant to decorate the cake.  Then finished it off with baby blocks and his name on them.  Joy was very happy with her finished cake!

IMG_1453

IMG_1353

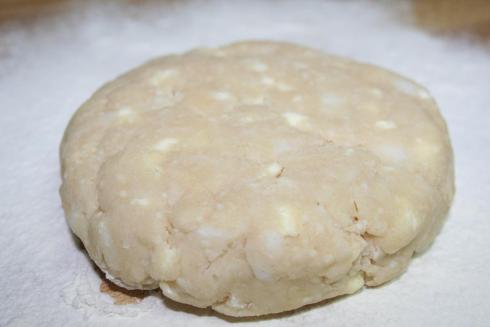
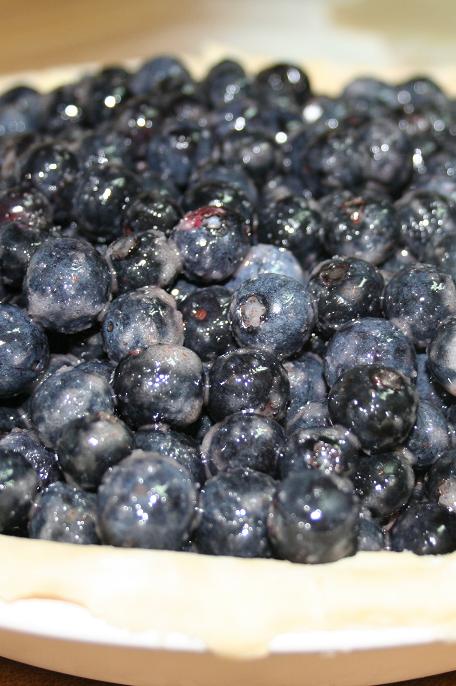
The girls and I have been picking blueberries from a local farm by the gallon full.  The farm is this quaint little house with field behind.  They house chickens for eggs and turkeys for breeding.  Luck us, a clutch hatched the first day we picked and the Mallory’s let us climb in the pen and hold the cute little babies.  We do enjoy the farm life, especially Kaighty.  Back to the kitchen, with all those berries and company coming over, it was decided we needed to make a Wild Blueberry Pie!   I have never actually made a pie from scratch before (with out my mother in the room), so I headed to one of my favorite books for a recipe.  In the Sweet Kitchen by Regan Daley is an amazing book, almost an encyclopedia for bakers, and only half full of recipes.  It is one of my favorite kitchen treasures.  The pie took most of the morning to make, or the crust rather.  This recipe called for lard in the crust, which was a new ingredient to me. This definitely made my crust very flaky and delicious!

IMG_1358

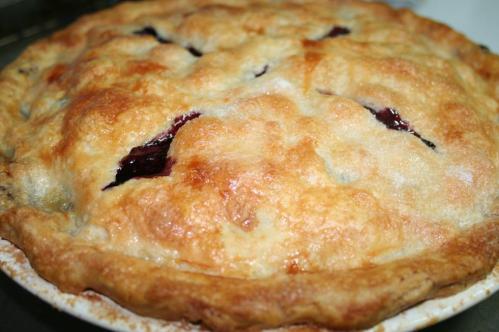
When removed from the oven, the blueberry goodness was bubbling up from the slits in the pie, and releasing the most wonderful smell.  Oh pie, how I love thee!   Served at room temperature with wild blueberry home-churned ice cream was divine!  Thanks Regan for a great book full of amazing recipes and kitchen knowledge!

IMG_1364

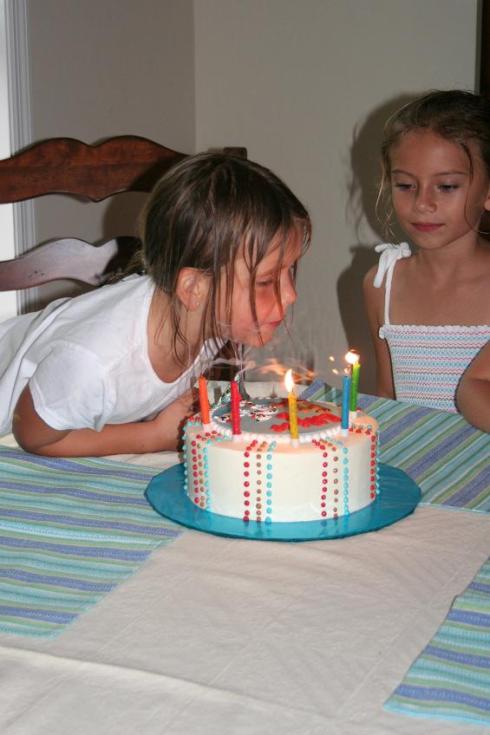
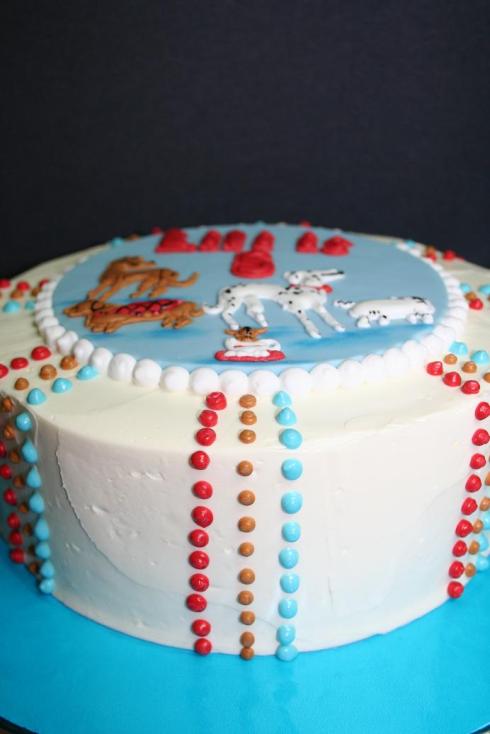
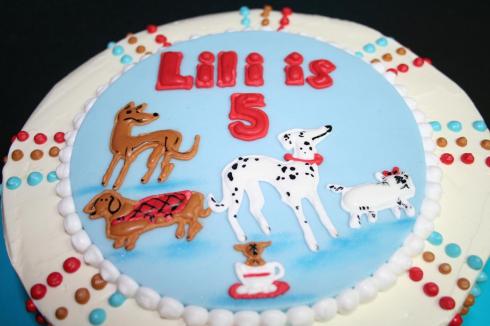
This was a great cake.  Kaighty’s little friend Lili from school turned 5 in May.  Her mother had always made her birthday cakes up until now.  After Kaight’ys 5th birthday party, which Lili attended, she decided that her mother made tasty cakes, “they just weren’t as pretty as Kaighty’s cake”.   Luckily her Mom is not nearly as sensitive as I am, because that would have broke my heart.   Lili’s mother order a Strawberry Cake with Cream-cheese Icing, and dogs.  That was my only guide, dogs.  Lili loves all dogs.  I decided a plaque was n order.

BC-Liliis5_001

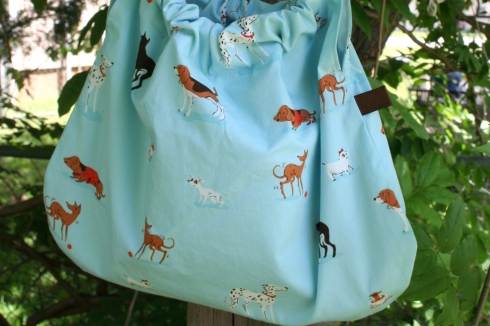
I have been sewing with Heather Ross fabric lately.  I know what your thinking.  What does that have to do with baking?  A lot.  She has this really cute fabric line called lightning bugs and other mysteries.   There is this supper cute print with dogs randomly placed all over pale blue fabric.  This was my inspiration for Lili’s cake.  Lili turned 5, Lili got 5 dogs.

IMG_0511

The strawberry cake was totally organic, and light (not fat free).  I used a gallon of freshly picked strawberries from our local u-pick farm, Southern Grace Farms.  The girls and I  love to pick fresh berries.  The cake is made with vegetable oil instead of butter, and was very moist and delicious.  The filling was a very rich, almost pure cream cheese (no powdered sugar here).  Topped with a  light cream cheese buttercream.

BC-Liliis5_003

BC-Liliis5_002

BC-Liliis5_004

petshop-03

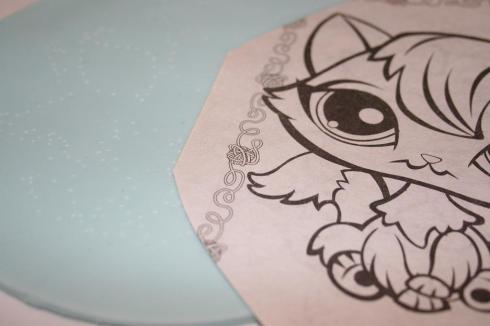
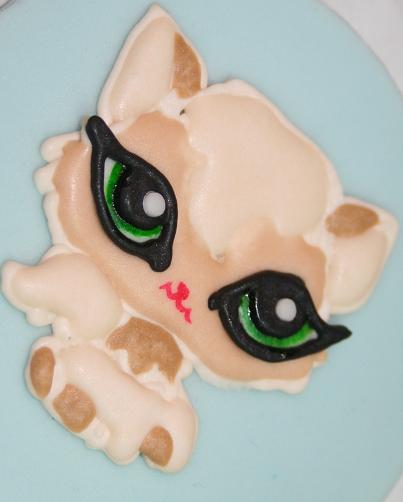
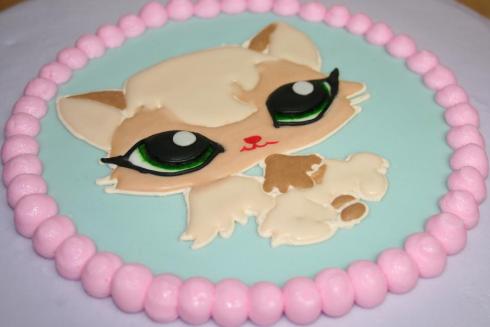
My very dear friend asked me to make a cake for her daughters 6th birthday this year.  She loves Pet Shop and does not eat cake.  Hum, I thought, how do I solve this problem? She does however, love chocolate chip cookies.  So I made two plaques from fondant and used a technique called run out to draw on her favorite Pet Shop kitty.  One was place on the half chocolate chiffon cake, half white trillium, and the other was placed on top of a cookie stack.  They turned out very well and the birthday girl was very pleased!

petshop-04

petshop-02

The April 2009 challenge is hosted by Jenny from Jenny Bakes. She has chosen Abbey’s Infamous Cheesecake as the challenge.

dairing-bakers-04-09-_001

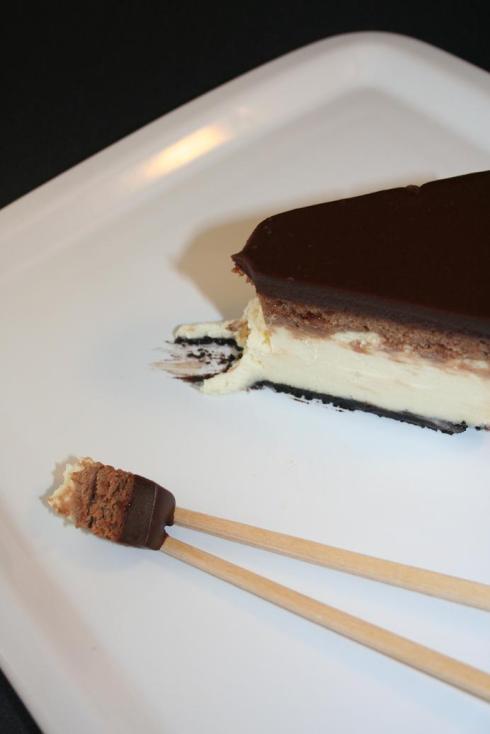
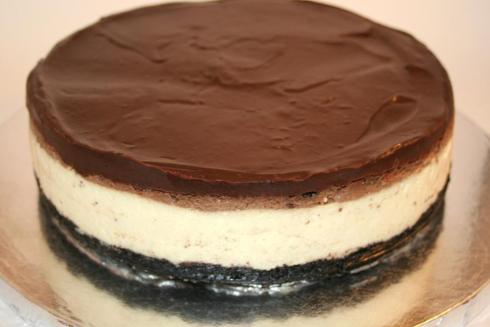
We love cheesecake, the hubby and I.  This challenge was definitely for us, but not a challenge in the least.  I have over the past few years perfected my cheesecake baking process to a T, so that is now the easy part.  That leaves me plenty of time to do what I love, alter the recipe.  Thankfully this month we could do just that, Jenny even encouraged us to “alter” the recipe and make it our own.  I am calling this one American Cheesecake.  It takes diversity to make it work, and oh how it works!

dairing-bakers-04-09-_005

Kaighty was my assistant daring baker for this challenge, as she was on spring break.  We first crushed 20 Oreo cookies in a bag (counting to 20 is my 5 year olds speciality).  Added the butter, spread the mixture in the pan and baked our crust for about 10 minutes.  Now to mix the base recipe.  I used Abby’s recipe but added a few extras such as flour and one more block of cream cheese, as well as omitted the lemon juice.  Once we had our base mixed up, I poured 2/3rds of it into our cooled spring-form pan and crust.  The we doctored up the last third with some instant espresso and a smidge of cocoa powder.

dairing-bakers-04-09-_004

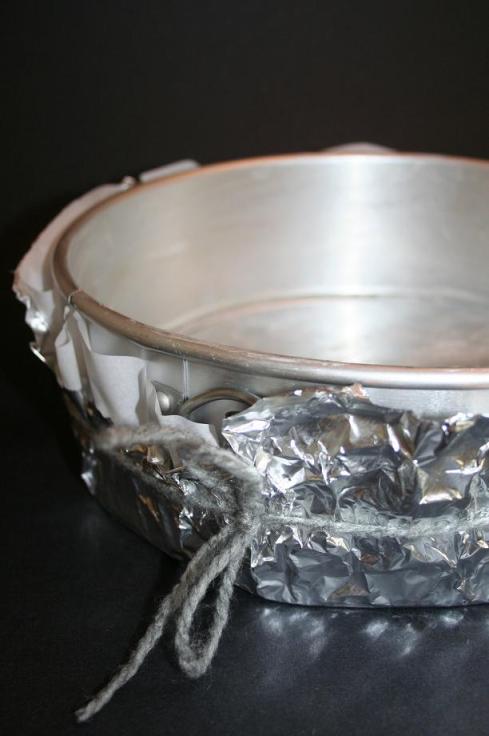
To ensure and even layer, I pipped on the espresso layer.  Into the oven it went, for about an hour and half.  I do open the oven door long enough to test the cheese cake, then close it back up and turn it off.  I leave it in the oven until the cake is at room temperature, this will prevent a crack in the top.  I realize I am about to top mine, so a crack could be covered.  At this point I carefully remove the cake from the pan, then put it right back in the pan.  pour the prepared ganache over it and place it in the fridge overnight.

dairing-bakers-04-09-_002

Overnight is the key to a good cheesecake.  For some reason it continues to meld together and comes to it’s creamiest point at about 36 hours out of the oven.  Don’t skip this step, as it is crucial for optimum taste!

The following evening, we cut and served it.  My girls ate the ganache off the top, and that was it.  The hubby and me, oh, we ate the whole thing, it was divine.  Like fresh cold watermelon in the summer, just amazing on your tongue!  Thank you Jenny, it was a wonderful challenge and a wonderful April in our house!

Read the rest of this entry »
Hello reader, this Blog is a real time biography for Bonobo Cakes. BC will become an official bakery sooner than later. For now however, we are closed. With the addition of a 3rd child, life is to important to stop and spend 24 hours strait on a cake. Although we love cake, it will be a while before we get back into baking on a large scale. Enjoy the stories and photos, but please ask prior to using any of our original information on another site. Thank you and Enjoy the blog as it was!